How To Configure Landing Page
How To Configure Landing Page
Section titled “How To Configure Landing Page”This guide will show how you can customise your landing page.
Section titled “This guide will show how you can customise your landing page.”Click on Settings > Form Settings > Landing Page
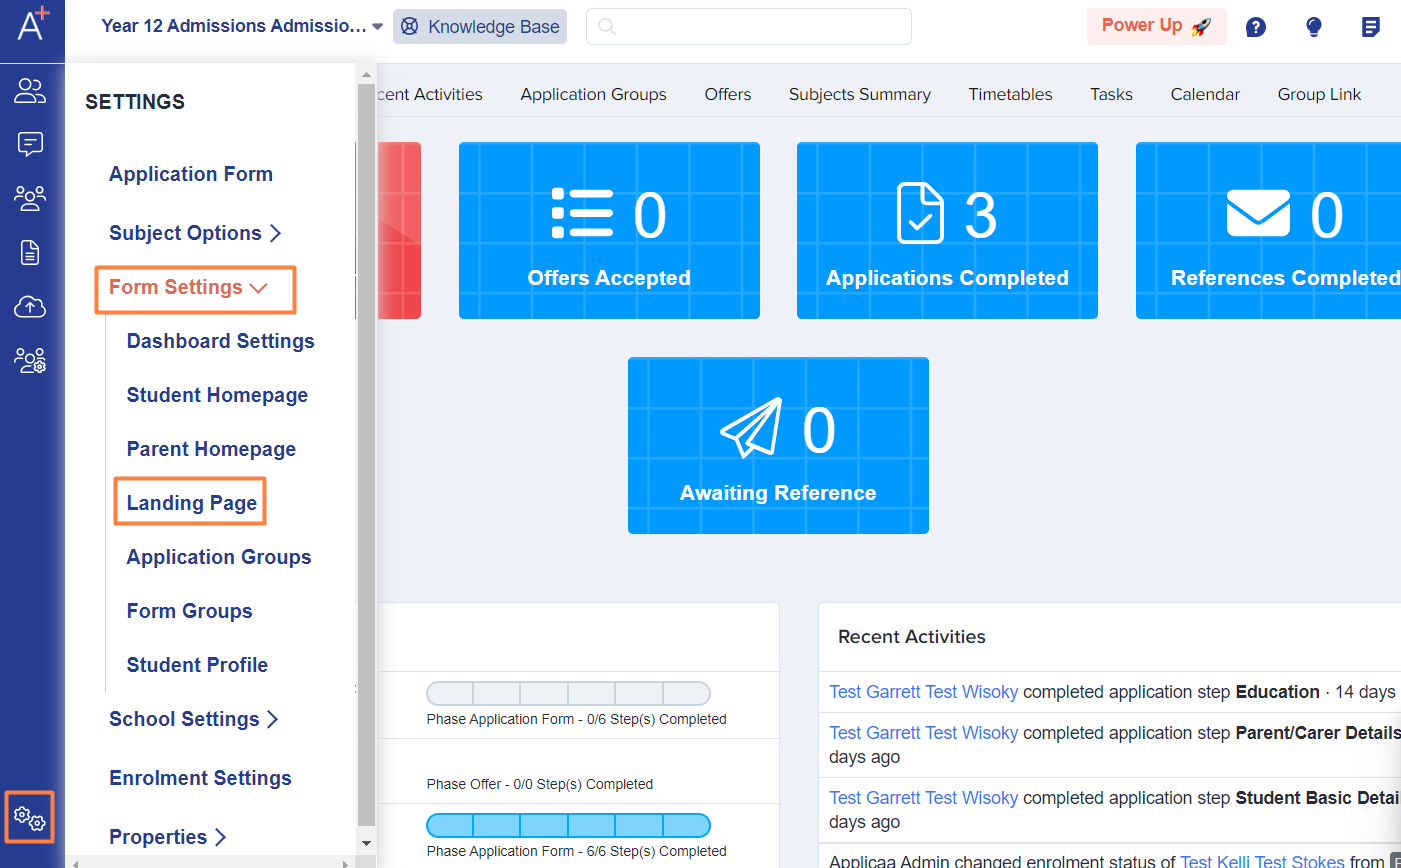
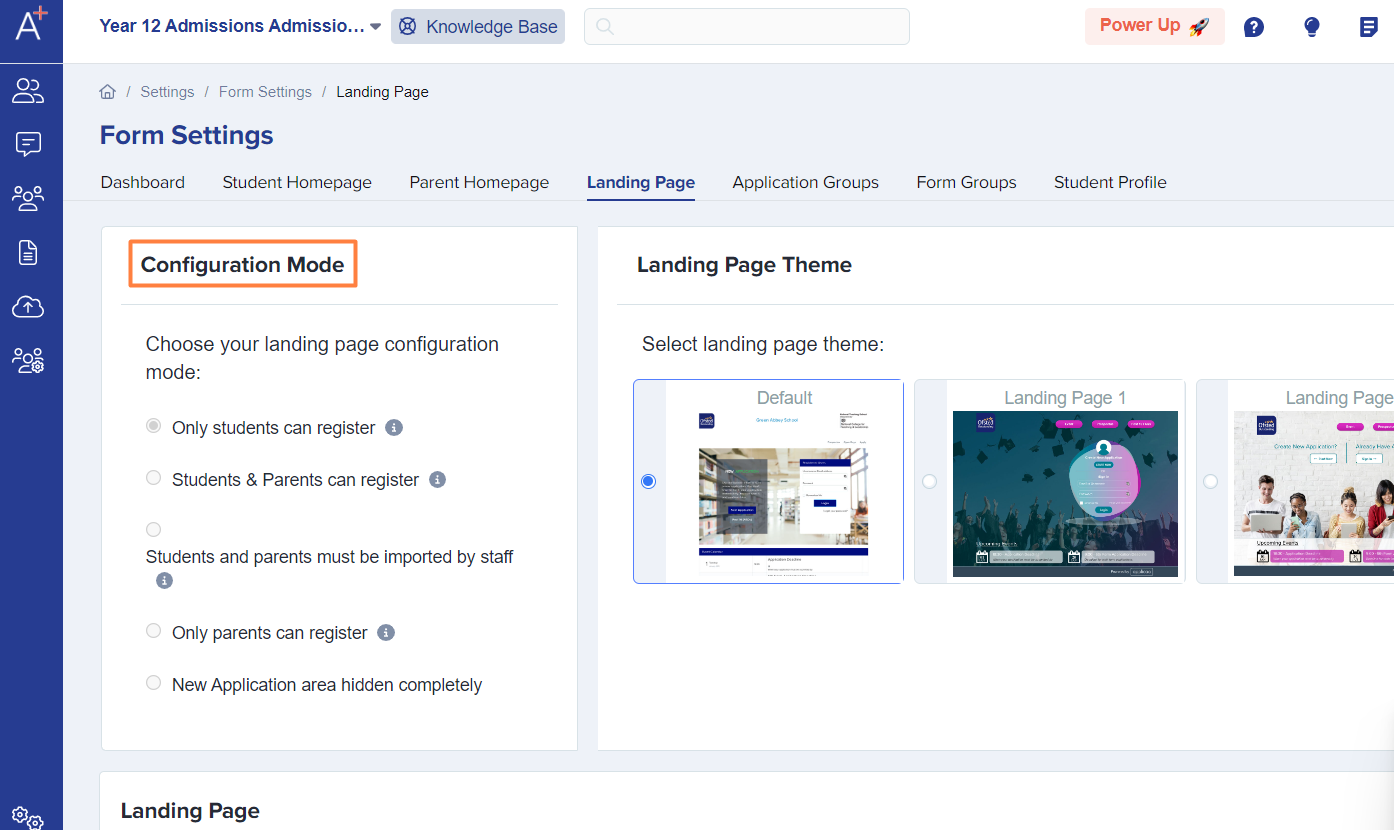
The Configuration Mode section allows you to select how you accept applications.
- Only students can register - for Year 12
- Students & Parents can register - some schools use this for Year 12
- Students and parents must be imported by staff - Primary & Year 7 (sometimes used for In-Year applications if the school gets a list of students from the Local Authority)
- Only parents can register - In-Year applications
- New Application area hidden completely - the New Application block will not be visible on the landing page (schools select this when they are no longer accepting applications)
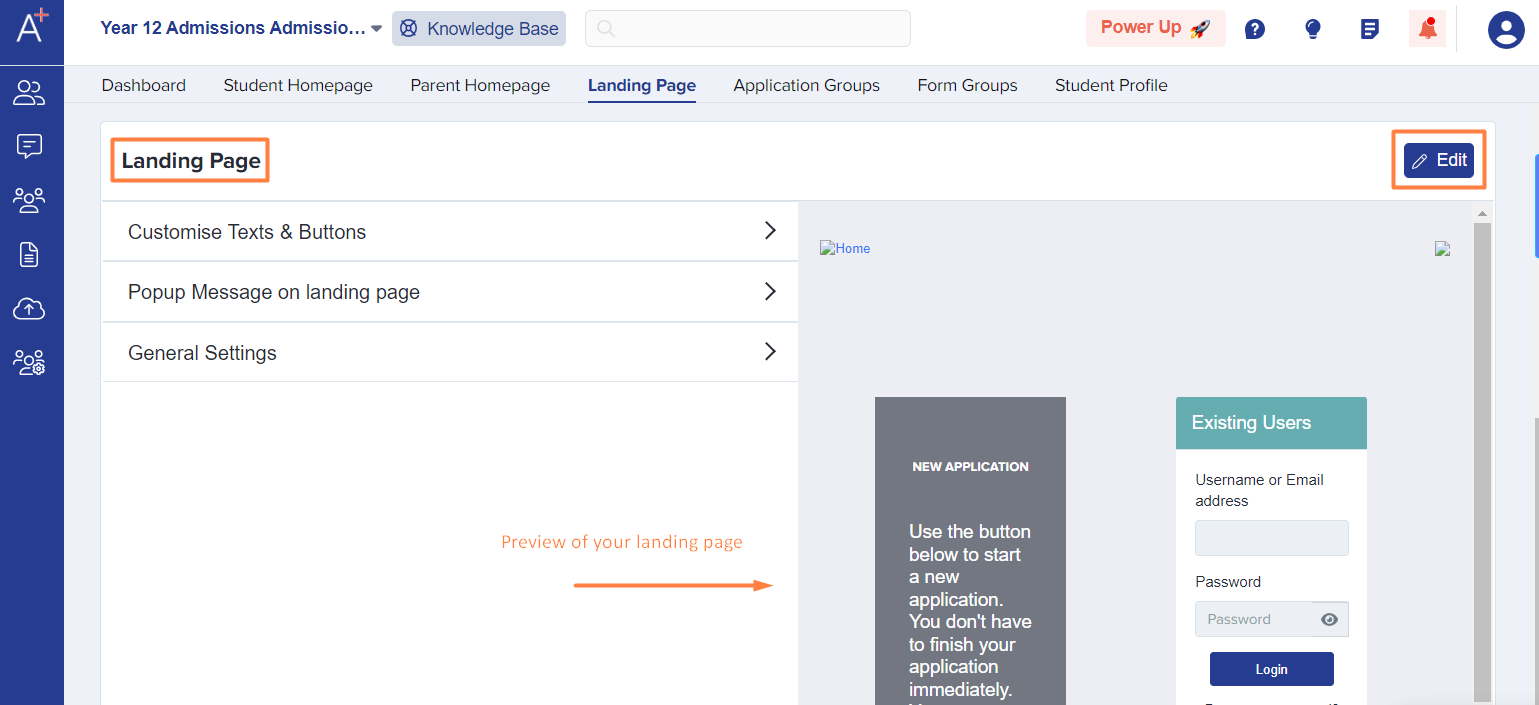
The Landing Page section has 3 sub-sections and you may customise them by clicking on the Edit button.
Note: Just beside this section, you see a preview of your landing page.
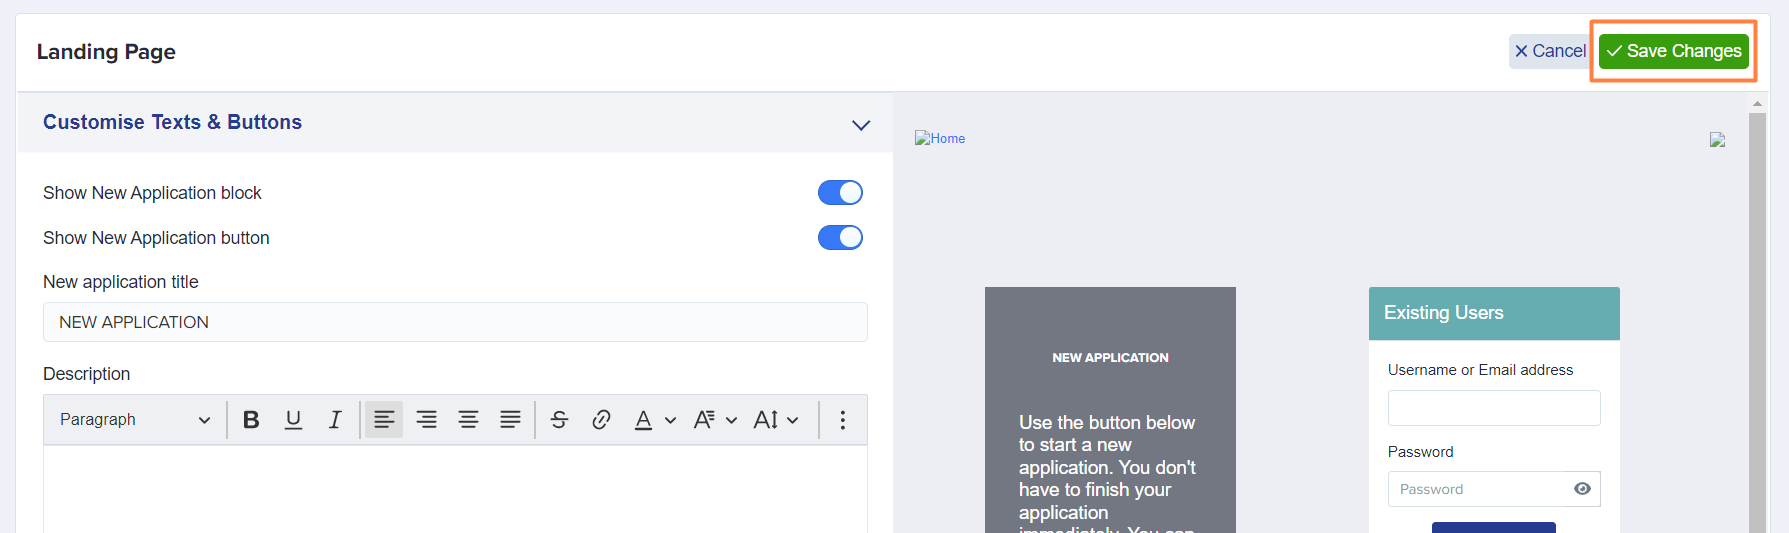
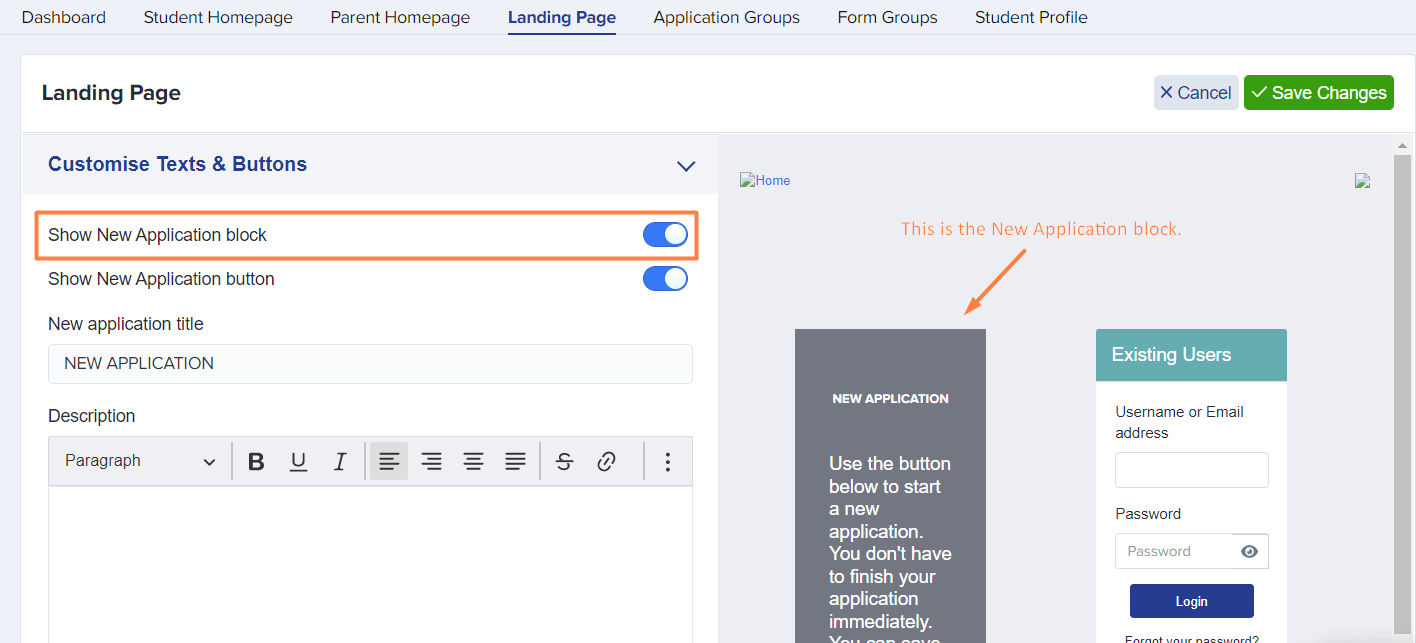
Customise Texts & Buttons
- Show New Application block - controls the visibility of the New Application block on the landing page
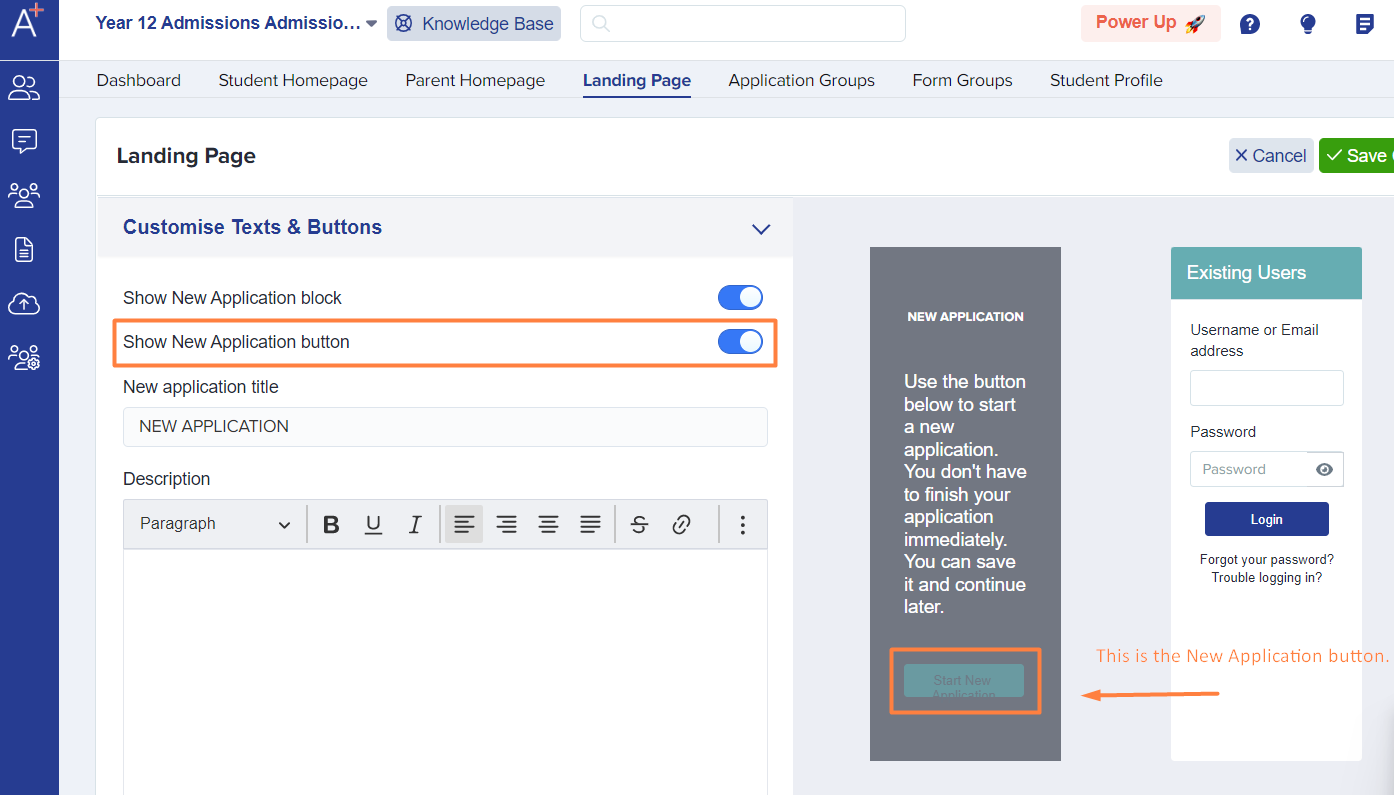
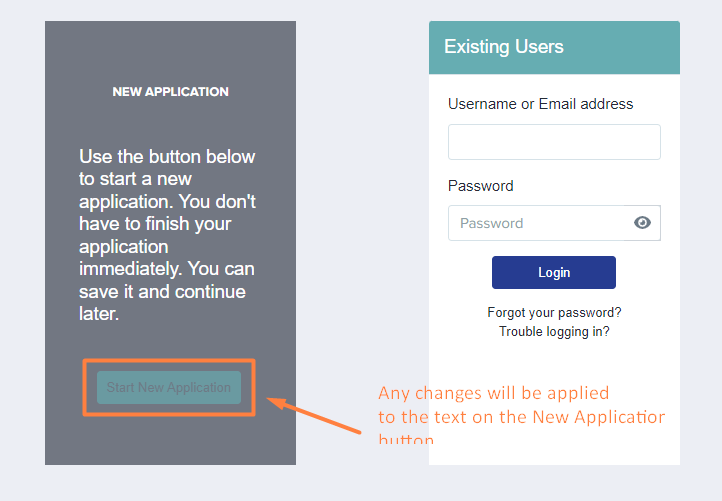
- Show New Application button - controls the visibility of the New Application button on the New Application block
Note: Schools usually disable this after the deadline for applications.
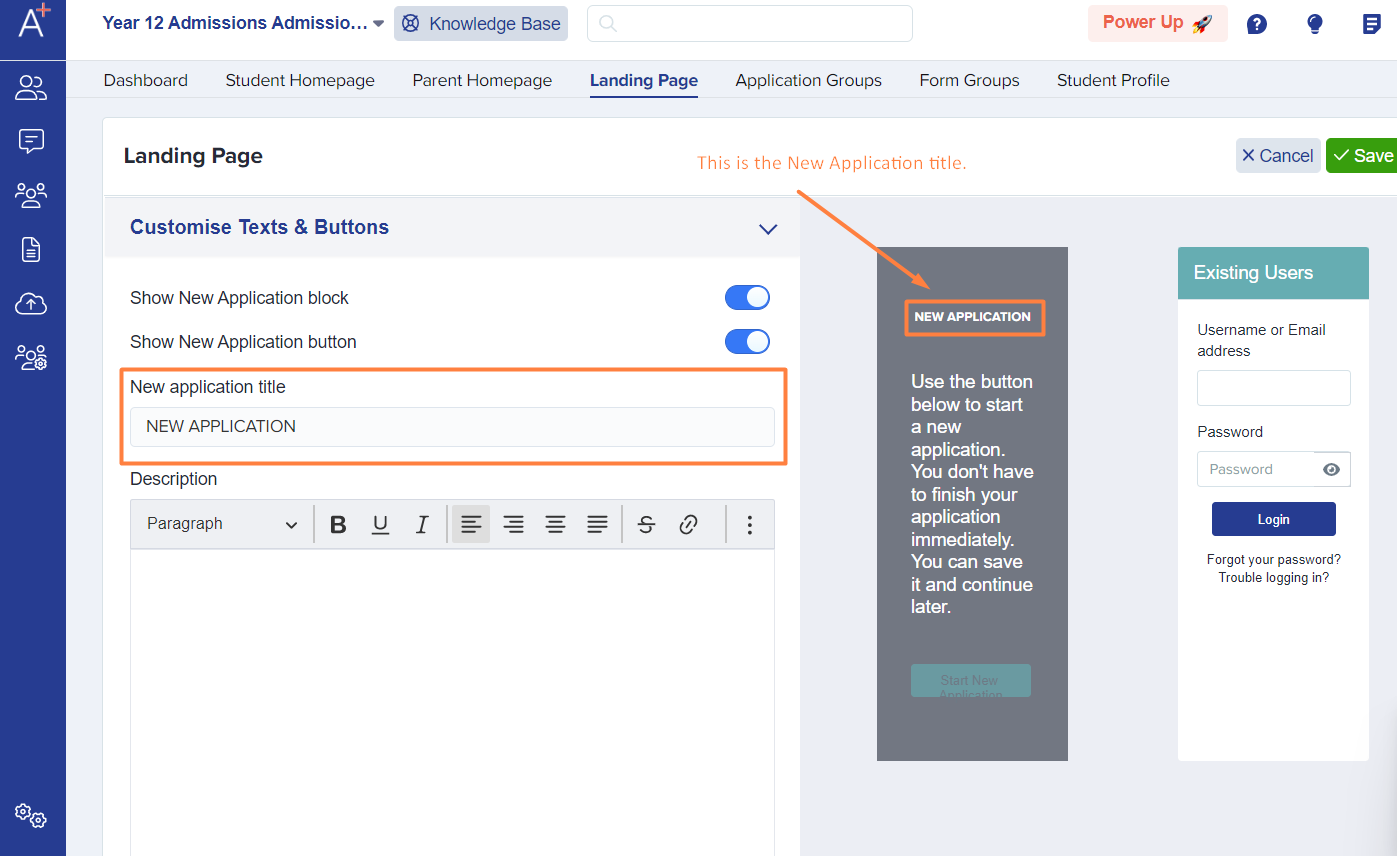
- New application title - allows you to change the title on the Application Block
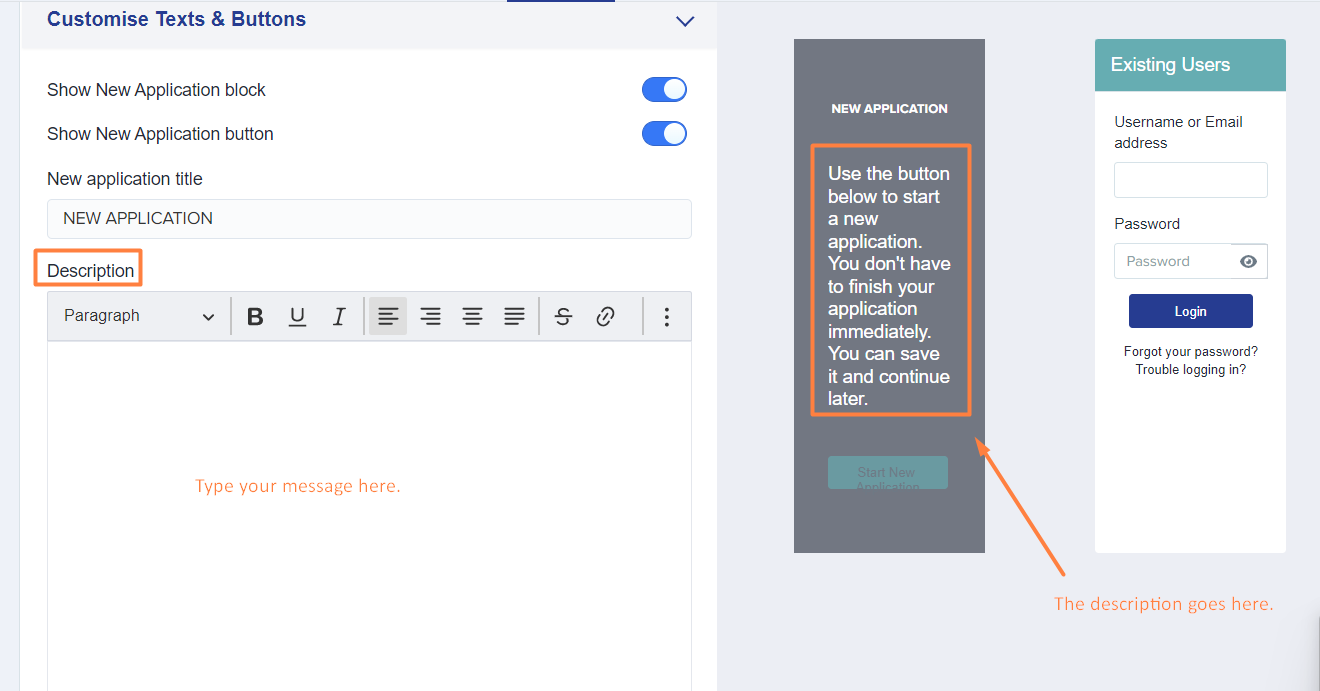
- Description - allows you to put a short message or instructions on the New Application block
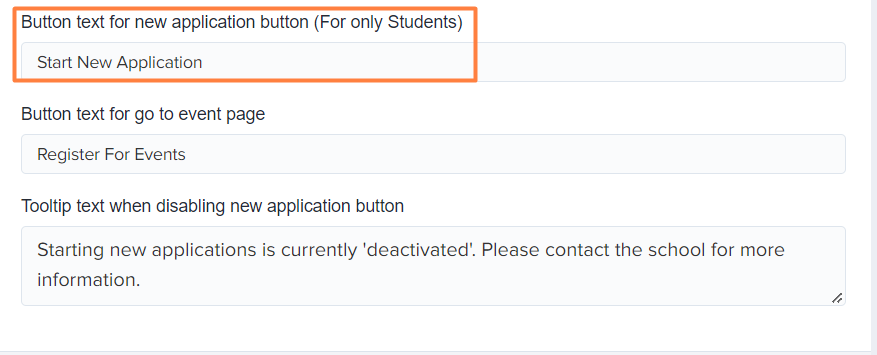
- Button text for new application button (For only Students) - this allows you to change the text on the New Application button (as indicated, it is only applicable when you set the form to accept applications from students only)
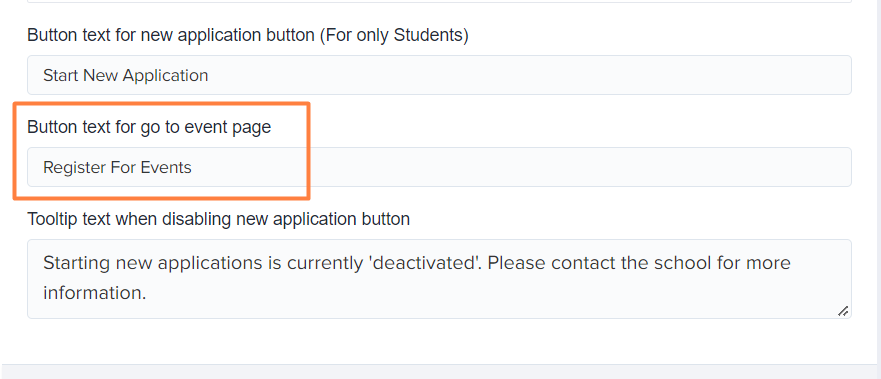
- Button text for go to event page - when you create events, they can be made visible on the landing page and will have a register button if you allow parents/students to register for them; this is where you can change the text on the register button
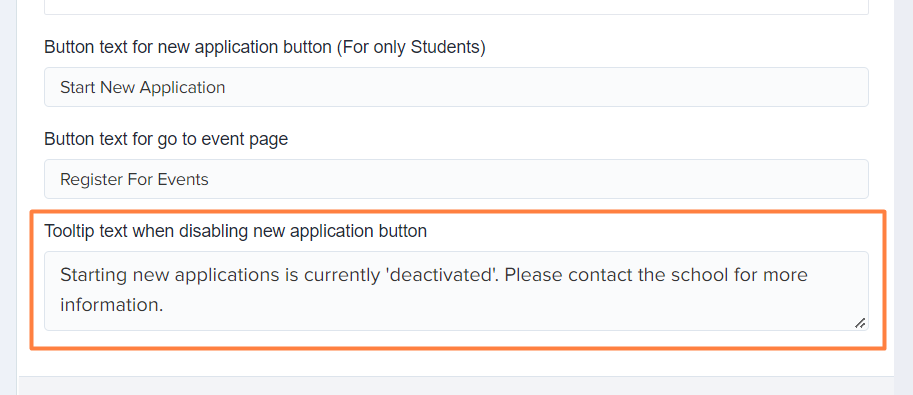
- Tooltip text when disabling new application button - when you decide to disable the New Application button (after the deadline for applications), the New Application button will be grayed out and parents/students will see whatever message you put in this field
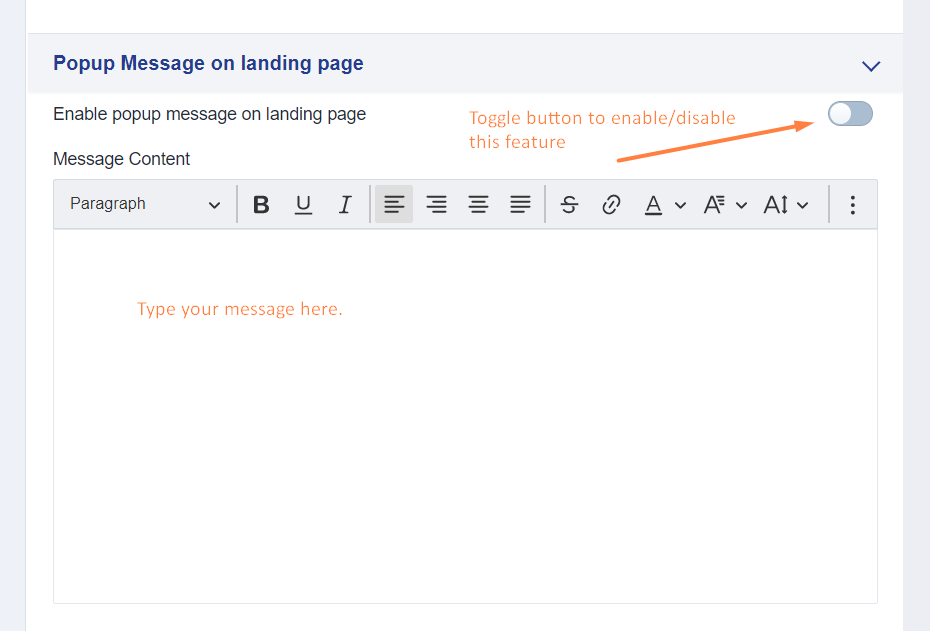
Popup Message on landing page
You may set a popup message on the landing page by enabling this feature and putting in the message. Schools usually use this for important announcements that they don’t want parents/students to miss
General Settings
- Header message - whatever you put here will appear on the Student Homepage message
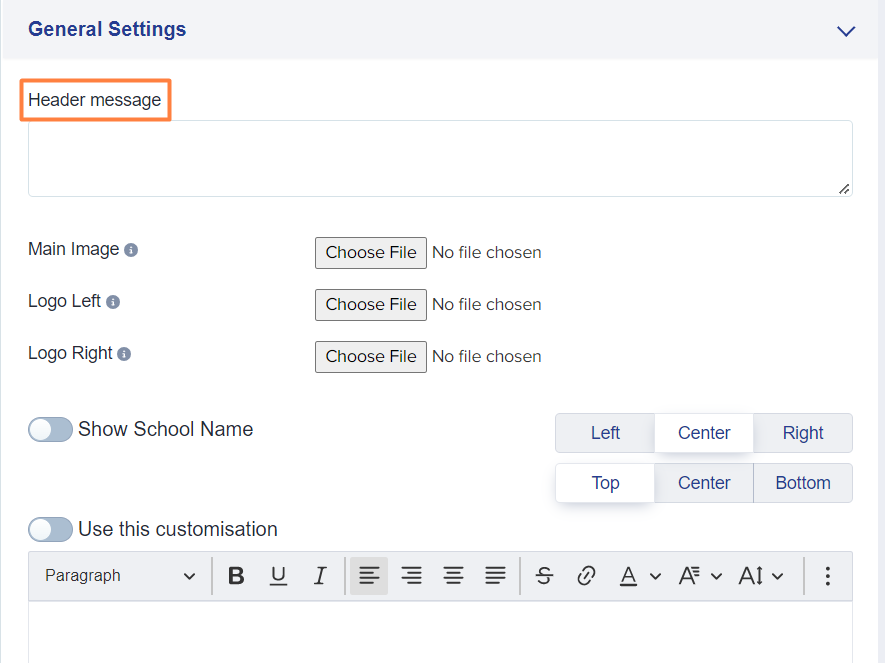
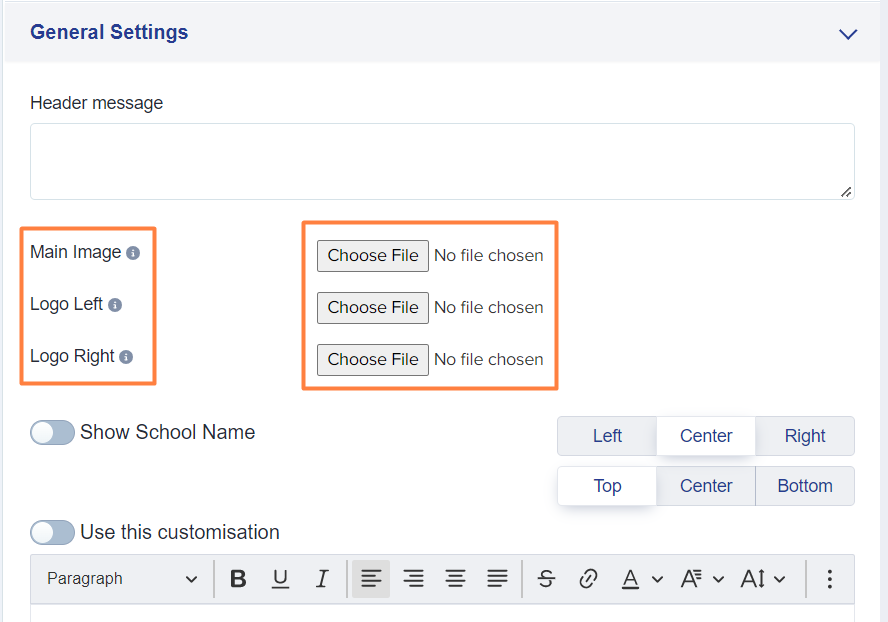
- Main Image - this is where you may upload the photo that will serve as the background image of your landing page
- Logo Left - this is where you may upload a logo that will be positioned on the left side of the landing page
- Logo Right - this is where you may upload a logo that will be positioned on the right side of the landing page, perhaps the MAT logo if you have one
- Note: click on the Choose File button and select your photo
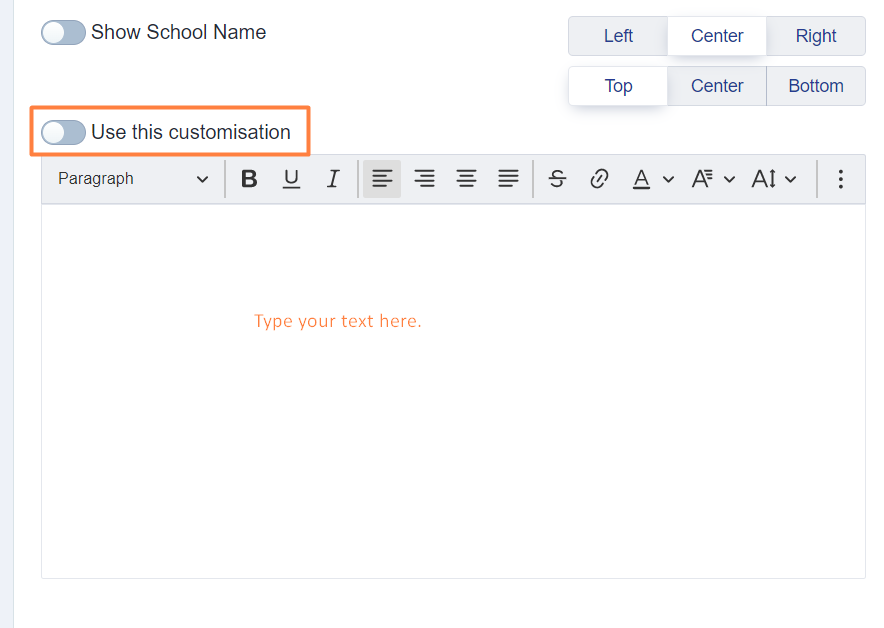
Show School Name - you have the option to show the name of your school on the landing page by enabling this feature
Note: you also get to decide where you want it to be positioned

- Use this customisation - if you want to customise the school name that shows on the landing page, enable this feature and customise it in the text area
Note: make sure that the Show School Name feature is disabled
For any changes made, click on the Save Changes button to save.